
Installing a limit switch might seem like a straightforward task, but in industrial automation, small installation oversights can lead to major headaches down the road. If a limit switch is misaligned, poorly protected, or incorrectly specified for its environment, it can cause intermittent signal drops, mechanical damage, or sudden factory downtime.
To ensure your sensors operate with absolute precision and achieve their maximum operational lifespan, you must keep these three critical installation precautions in mind.
1. Never Compromise on Environmental IngressProtection (IP)
Before tightening the mounting screws, look closely at the surrounding environment. Factories are often filled with airborne dust, moisture, cutting fluids, or corrosive chemicals that love to creep inside electrical enclosures.
- The Risk: If fine dust or oil mist penetrates the switch housing, it can gum up the internal returnsprings or oxidize the electrical contacts, leading to mechanical jams or complete signal failure.
- The Precaution: In heavy dust, highly humid, or splash-prone areas, you must select andinstall limit switches with a rating of IP66 or higher. Proper sealing keeps the internal micro-switch chamber completely isolated from the harsh outside elements, extending the device’s service life.
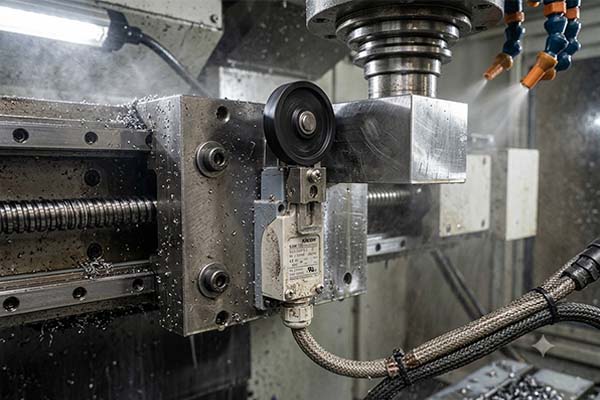
machining environment, with callout arrows pointing to the tight rubber seals around the conduit entry and head assembly.]
2. Achieve Precision in Actuator Alignment andPlacement
A limit switch can only send an accurate signal if the moving target (the cam or dog) strikes the operating head perfectly at the right time and angle.
- The Risk: If the installation position is even a few millimeters off, thetarget might bypass the switch entirely (no trigger) or hit it too hard at a bad angle, snapping the actuator arm.
- ThePrecaution: Adjustthe mounting bracket until the moving part cleanly and stably triggers the operating head exactly at the intended position. To maximize stability during high-impact triggers, choosing the right hardware is essential.
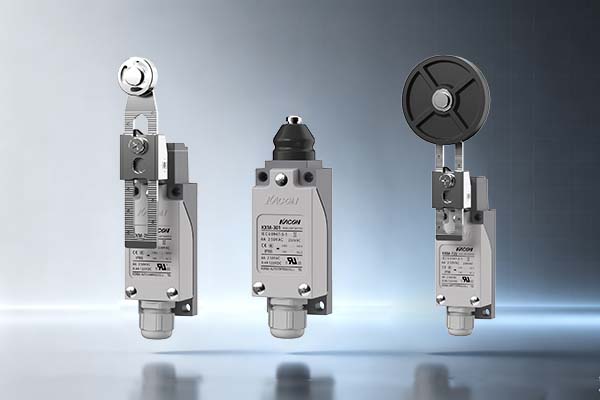
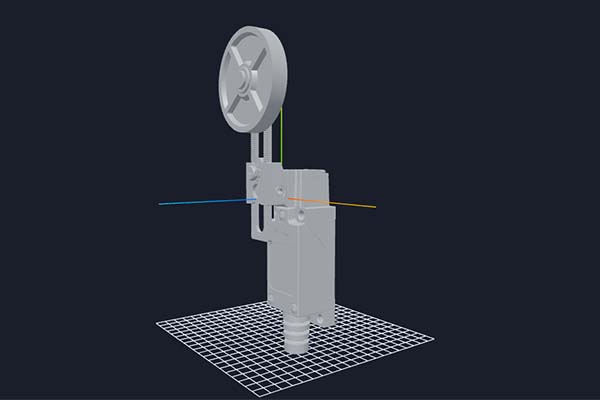
- The KXM Advantage: For challenging paths, the KXM Series limit switches utilize premium stainless steel rollers. Stainless steel offers superior corrosion resistance and incredible impact durability, ensuring smooth, highly stable triggering cycle after cycle.
3. Conduct Thorough Testing and Add Physical Protections
The job isn’t finished just because the wires are connected. The final stage of installation requires verifying the switch’s movement and protecting it from long-term wear.
- Post-Installation Check: Once installation and commissioning are complete, manually cycle the machine slowly to check the running state of the limit switch. Ensure that the actuator travels far enough to trigger the internal contacts, but doesn’t over-travel so much that it crushes the internal mechanism.
- Install Protective Guards: For high-traffic areas or zones where heavy parts are rapidly moving, you should install a physical protective baffle or shield around the switch body. This simple metal shield deflects accidental stray impacts and reduces the direct mechanical shock on the switch, saving it from premature physical damage.

4. Quick Installation Checklist
Use this quick summary matrix during your next machine setup to ensure no steps are missed:
| Installation Stage | Focus Area | Core Action / Requirement | Recommended Component
Feature |
| 1. Environmental Check | Ingress Protection | Verify IP66+ rating for wet, oily, or
highly dusty zones. |
Sealed industrial housing |
| 2. Physical
Alignment |
Target Cam Position | Align the path so
the target smoothly glides over or presses the head. |
KXM Series
(Stainless Steel Roller) |
| 3. Commissioning | Pre-Run Testing | Verify proper
activation travel; ensure no mechanical over-stress. |
Functional dry-run check |
| 4. Armor & Shielding | Physical Shielding | Add a protective metal baffle if the switch is exposed to falling parts. | Custom metal mpact plate |
5. Conclusion
Getting the most out of your limit switch comes down to respecting the environment it works in and the physical forces it endures. By demanding IP66+ sealing in dirty zones, aligning the target precisely with rugged stainless steel rollers, and adding protective shields in
high-impact zones, you guarantee your automation lines run smoothly without unexpected interruptions.